Getting started
From zero to your first API call in minutes.
Authenticate, make a request, and handle errors. This guide covers everything you need to start building on the wrk!ng platform.
Base URL
| Environment | URL |
|---|---|
| Production | https://api.wrk.ing |
| Local development | http://localhost:3001 |
All endpoints are prefixed with /api. For example, the health check lives at https://api.wrk.ing/api/health.
Request lifecycle
Every authenticated request moves through the same middleware chain before it reaches a handler. Understanding the pipeline makes it easier to reason about error responses, audit entries, and the event stream you will subscribe to from webhooks or SSE.
Browser  →  /api/{resource}  →  verifyToken       (401 if token missing or expired)
                           →  requirePermission  (403 if role lacks the action)
                           →  router handler     (422 on schema validation failure)
                           →  service function   (DB query, always org-scoped)
                           →  emitAndAudit       (audit log + lifecycle event, same txn)
                           →  promptHook         (AI automations, pre/post submit)
Three guarantees
Three invariants fall out of the pipeline and are enforced by tests at the integration layer:
- Every request is authenticated.
verifyTokenrejects requests without a valid JWT or API key before any handler runs. Unauthenticated requests never see business logic or the database. - Every write is audited.
emitAndAuditwrites to the audit log and emits a lifecycle event on the same database transaction as the write itself. Either both land or neither does. - Every query is org-scoped. Service functions take an
orgIdargument and includeWHERE org_id = $1on every statement. Cross-tenant leaks are covered by dedicated integration tests — search forcross-tenantin the test suite.
Permissions travel with the token
A JWT or API key inherits the permissions of the user that issued it. If you revoke a role from a user, existing tokens lose the corresponding actions on the next request — there is no separate permission cache to invalidate.
Authentication
The API supports two authentication methods. Both use the Authorization: Bearer <token> header.
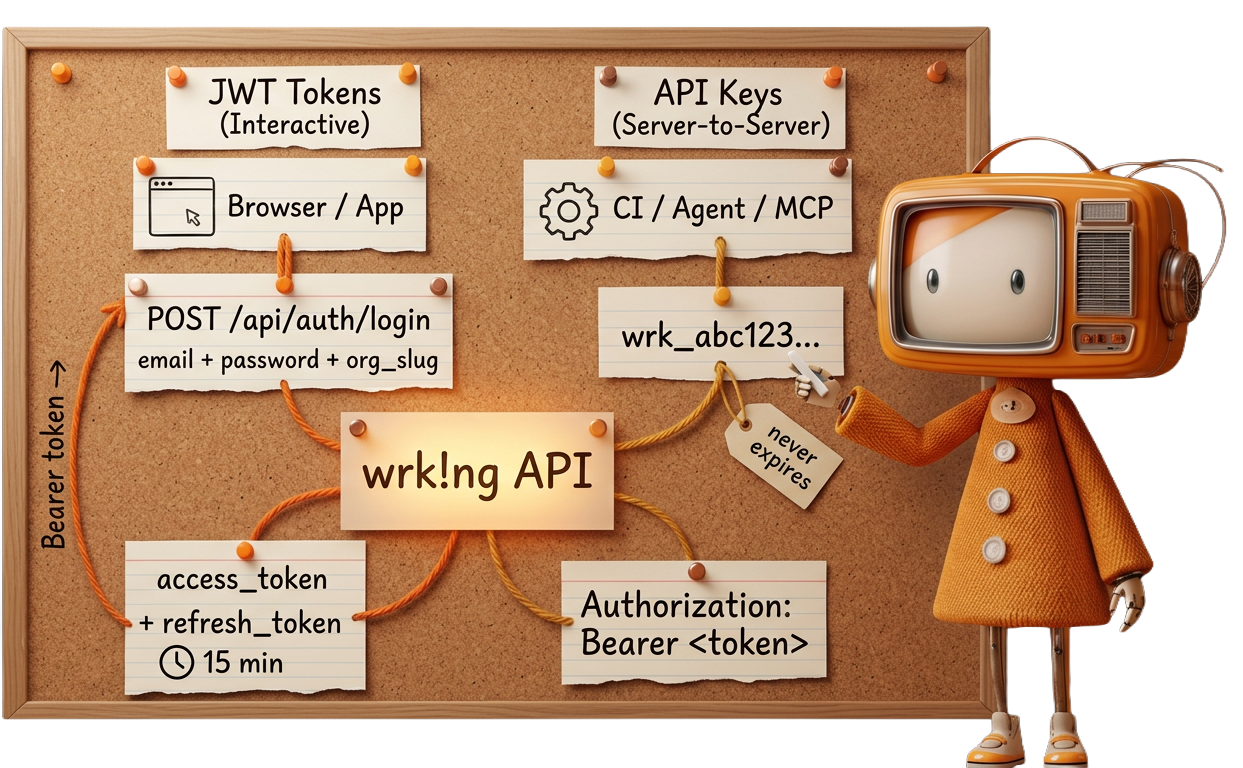
Authenticate with email, password, and organization slug to receive short-lived tokens. This method is designed for browser-based applications and tools that operate on behalf of a logged-in user.
curl -X POST https://api.wrk.ing/api/auth/login \
  -H "Content-Type: application/json" \
  -d '{
    "email": "you@example.com",
    "password": "your-password",
    "org_slug": "acme"
  }'
A successful response returns an access token and a refresh token:
{
  "access_token": "eyJhbGciOiJIUzI1NiIs...",
  "refresh_token": "dGhpcyBpcyBhIHJlZnJl...",
  "expires_in": 900,
  "user": {
    "id": 42,
    "org_id": 1,
    "org_name": "Acme Corp",
    "email": "you@example.com"
  }
}
Use the access_token as your Bearer token for subsequent requests.
For automated systems, CI pipelines, and integrations that don't involve a user session, create an API key. Keys are scoped to your organization and never expire unless you set an expiration or revoke them.
Create a key through the admin UI or the API:
curl -X POST https://api.wrk.ing/api/api-keys \
  -H "Authorization: Bearer $ACCESS_TOKEN" \
  -H "Content-Type: application/json" \
  -d '{  "name": "CI pipeline" }'
Store your key immediately
The response includes the raw key. It is only shown once -- you cannot retrieve it later. Store it in a secrets manager or environment variable right away.
{
  "id": 7,
  "name": "CI pipeline",
  "prefix": "wrk_a1b2c3d4",
  "key": "wrk_a1b2c3d4e5f6...64 hex characters total"
}
API keys follow the format wrk_ followed by 64 hexadecimal characters. Use the full key as a Bearer token:
curl https://api.wrk.ing/api/users/me \
  -H "Authorization: Bearer wrk_a1b2c3d4e5f6..."
Your first request
Start with the unauthenticated health check to confirm connectivity:
curl https://api.wrk.ing/api/healthconst res = await fetch("https://api.wrk.ing/api/health");
const data = await res.json();
console.log(data); // { status: "ok" }import requests
r = requests.get("https://api.wrk.ing/api/health")
print(r.json()) # {"status": "ok"}{ "status": "ok" }Then make an authenticated request to verify your token:
curl https://api.wrk.ing/api/users/me \
  -H "Authorization: Bearer $TOKEN"
const me = await fetch("https://api.wrk.ing/api/users/me", {
headers: { Authorization: `Bearer ${token}` },
});
const user = await me.json();
console.log(user);headers = {"Authorization": f"Bearer {token}"}
me = requests.get("https://api.wrk.ing/api/users/me", headers=headers)
print(me.json())Token refresh
Access tokens are short-lived. When one expires, exchange the refresh token for a new pair instead of re-authenticating with credentials:
curl -X POST https://api.wrk.ing/api/auth/refresh \
  -H "Content-Type: application/json" \
  -d '{  "refresh_token": "dGhpcyBpcyBhIHJlZnJl..." }'
async function refreshTokens(refreshToken) {
const res = await fetch("https://api.wrk.ing/api/auth/refresh", {
method: "POST",
headers: { "Content-Type": "application/json" },
body: JSON.stringify({ refresh_token: refreshToken }),
});
if (!res.ok) throw new Error("Refresh failed");
return res.json();
}def refresh_tokens(refresh_token):
r = requests.post(
"https://api.wrk.ing/api/auth/refresh",
json={"refresh_token": refresh_token},
)
r.raise_for_status()
return r.json()One-time use
The response has the same shape as the login response, with fresh access_token and refresh_token values. The old refresh token is invalidated on use.
Error format
All errors return a JSON body with an error field. Validation failures include a details object with per-field information.
General error:
{
  "error": "Invalid credentials"
}
Validation error (422):
{
  "error": "Validation failed",
  "details": {
    "fieldErrors": {
      "email": ["Invalid email"]
    },
    "formErrors": []
  }
}
Common status codes
| Code | Meaning |
|---|---|
200 | Success |
201 | Created |
204 | Deleted (no content) |
401 | Authentication required or token expired |
403 | Insufficient permissions |
404 | Resource not found |
422 | Validation failed |
429 | Rate limit exceeded |
500 | Internal server error |
Rate limiting
The API enforces rate limits to ensure fair usage. When you exceed the limit, the API returns a 429 status code. Back off and retry after the duration indicated in the Retry-After header.
OpenAPI specification
A machine-readable OpenAPI 3.0 spec is available at:
https://api.wrk.ing/api/docs.jsonYou can load this into any OpenAPI-compatible tool (Postman, Insomnia, Swagger UI) to explore all available endpoints, request/response schemas, and authentication requirements. The interactive API reference is also available at /developers/api.
Tools and downloads
Ready-made resources
Get up and running faster with pre-built collections you can import into your favourite tools.